Settings & Billing
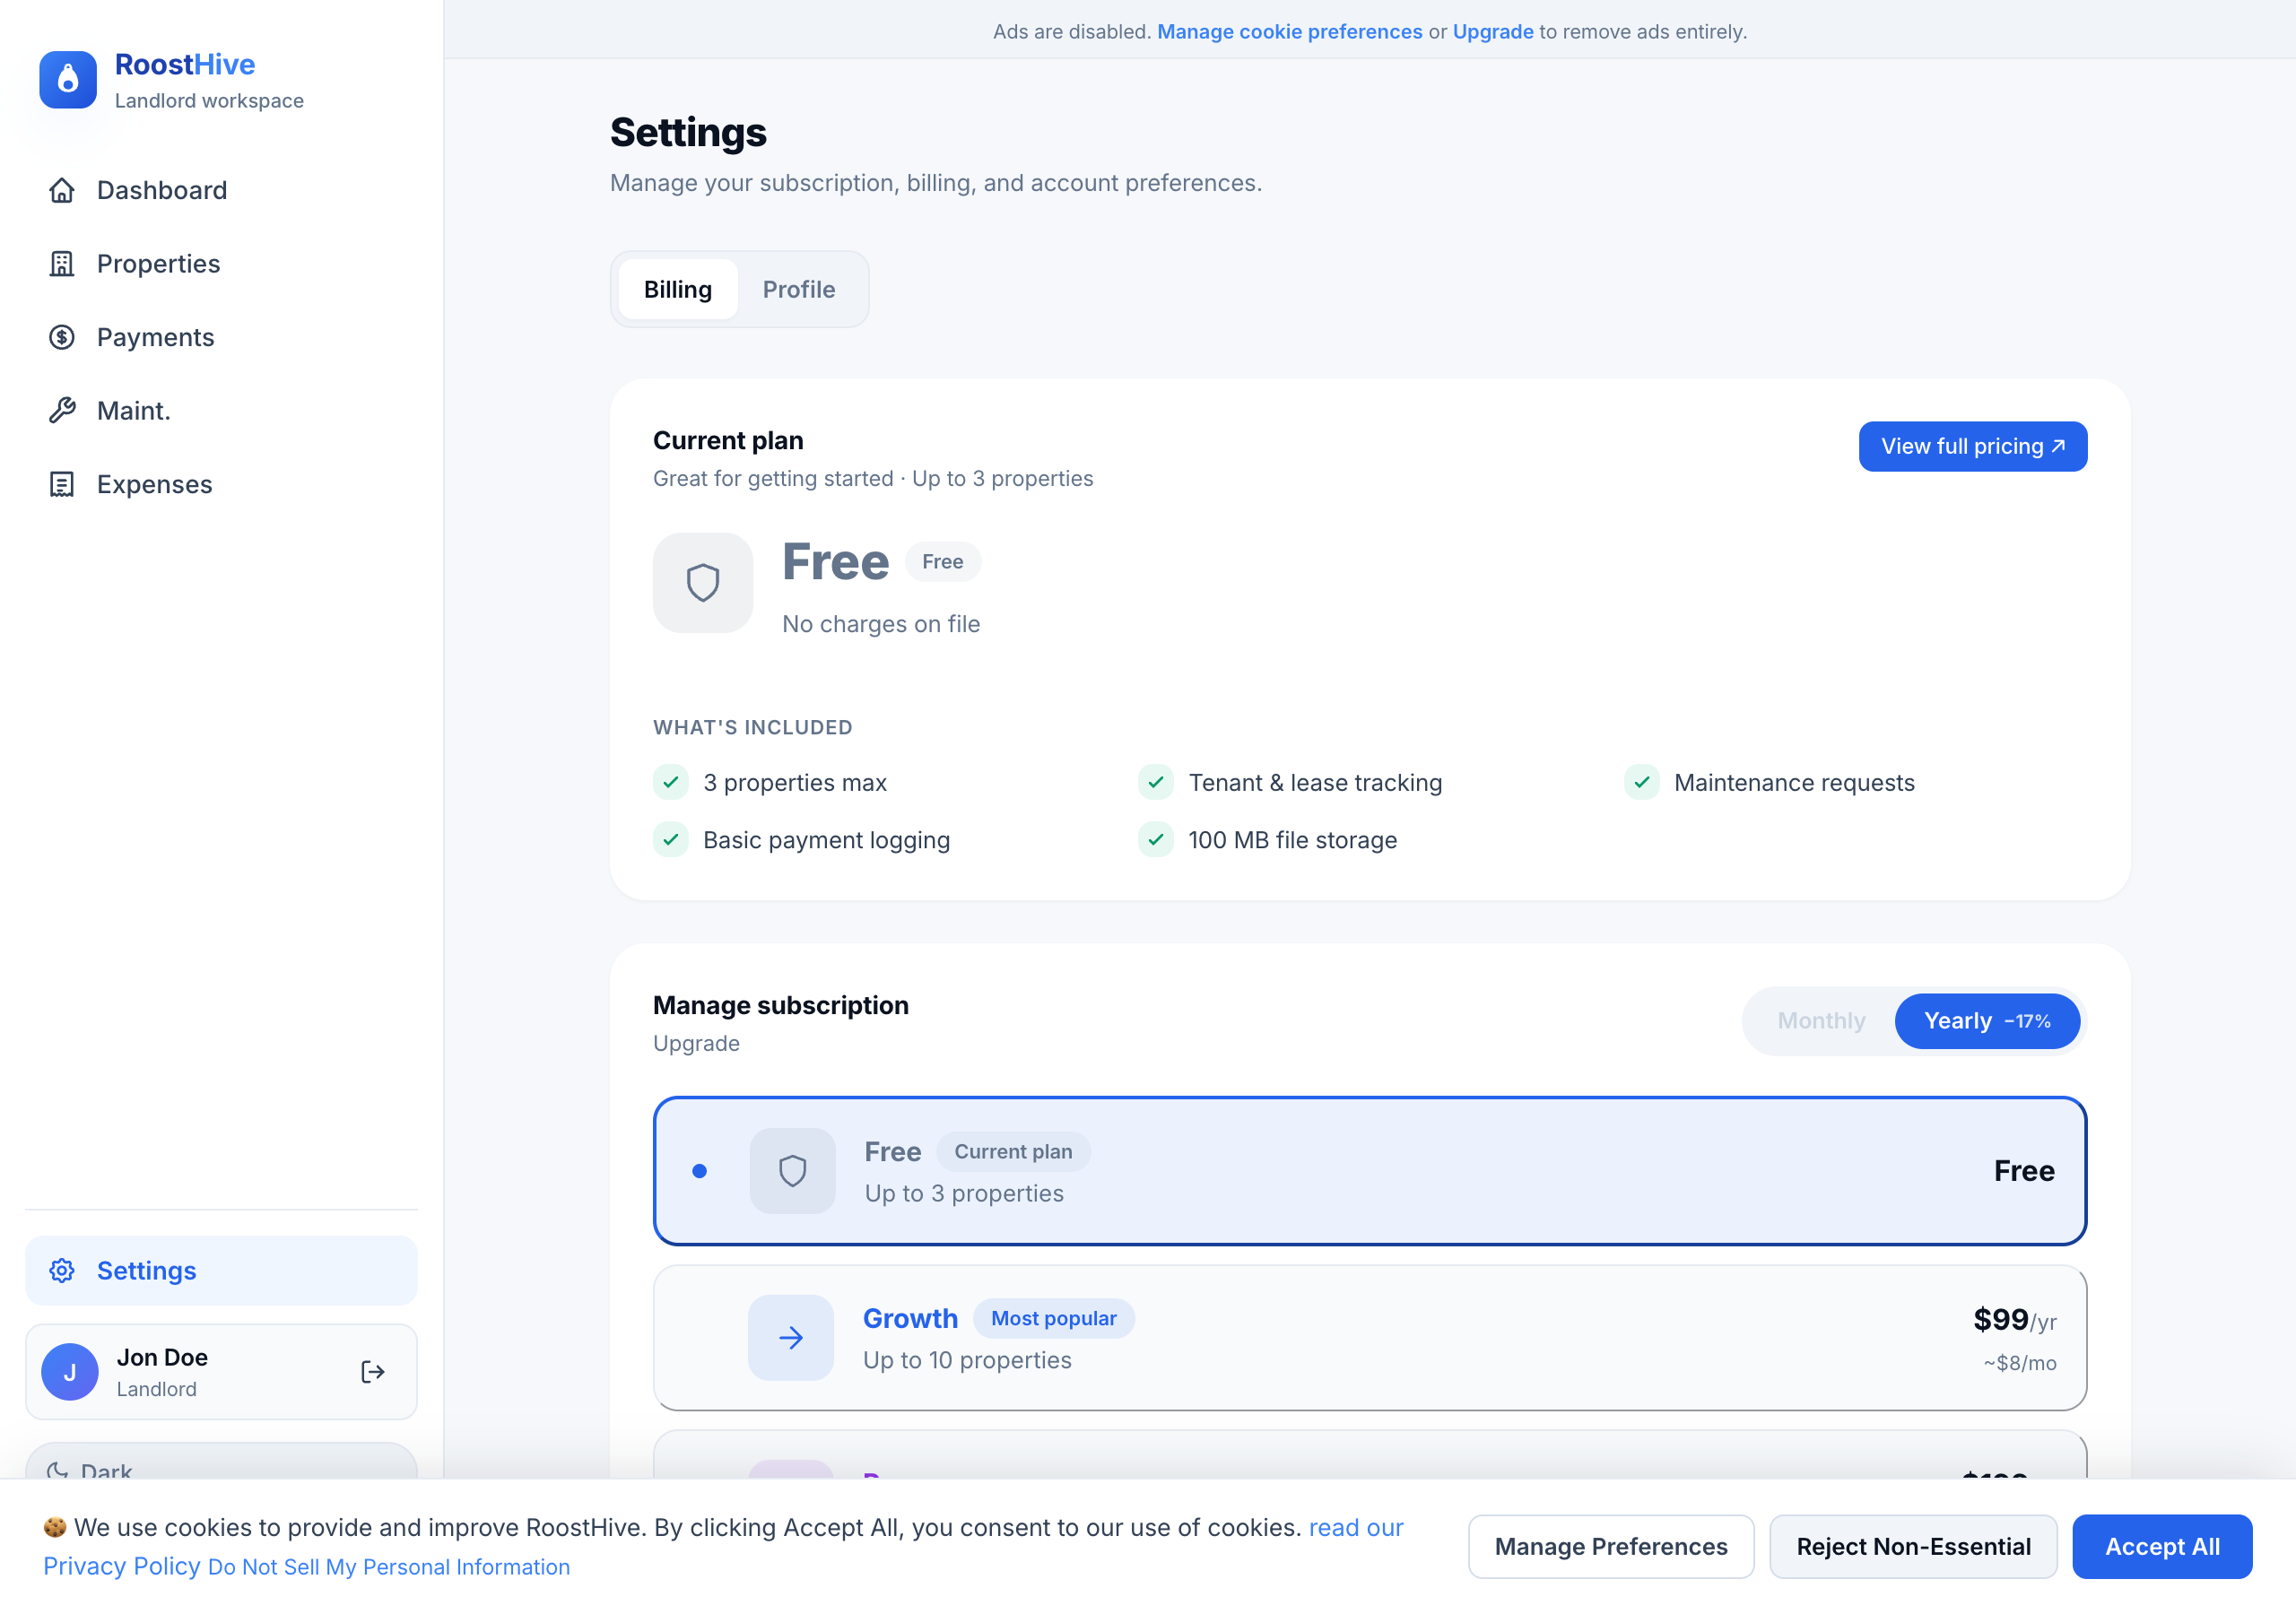
The Settings page is your account control center. It's organized into clear sections — your plan, billing, payment collection, profile, and a "Danger Zone" for account changes. Here's what each one does.
Your plan
RoostHive comes in three tiers, and your current one is marked "Current plan." The difference is mainly how many properties you can manage:
| Plan | Best for | Properties |
|---|---|---|
| Free | Great for getting started | Up to 3 |
| Growth Most popular | Best for growing portfolios | Up to 10 |
| Pro | For serious landlords | Up to 25 |
To move up, click Upgrade on the plan you want. If you're already on a paid plan, Manage subscription lets you change or review it.
Billing
The Billing section is where you handle anything money-related about your subscription. Open billing portal takes you to a secure page to update your payment method, and Billing history shows past invoices and receipts you can download for your records. Paid plans may begin with a Trial before becoming Active.
Payment collection (connecting Stripe)
To accept online rent — the card and bank-transfer links described on the Payments page — you connect a payout account through Stripe, a trusted payments provider used by millions of businesses. In plain terms, Stripe is the secure middle layer that moves a tenant's payment into your bank account.
- Click "Connect Stripe" In the Payment Collection section.
- Follow the secure setup Stripe asks for the details needed to pay you and verify your identity. RoostHive never sees or stores your bank credentials — Stripe handles that.
- You're connected Once done, you'll see Stripe Connected, and rent paid through your links lands in your bank account.
You can Disconnect at any time. The section also shows your Payouts status so you can confirm money is flowing.
Profile & security
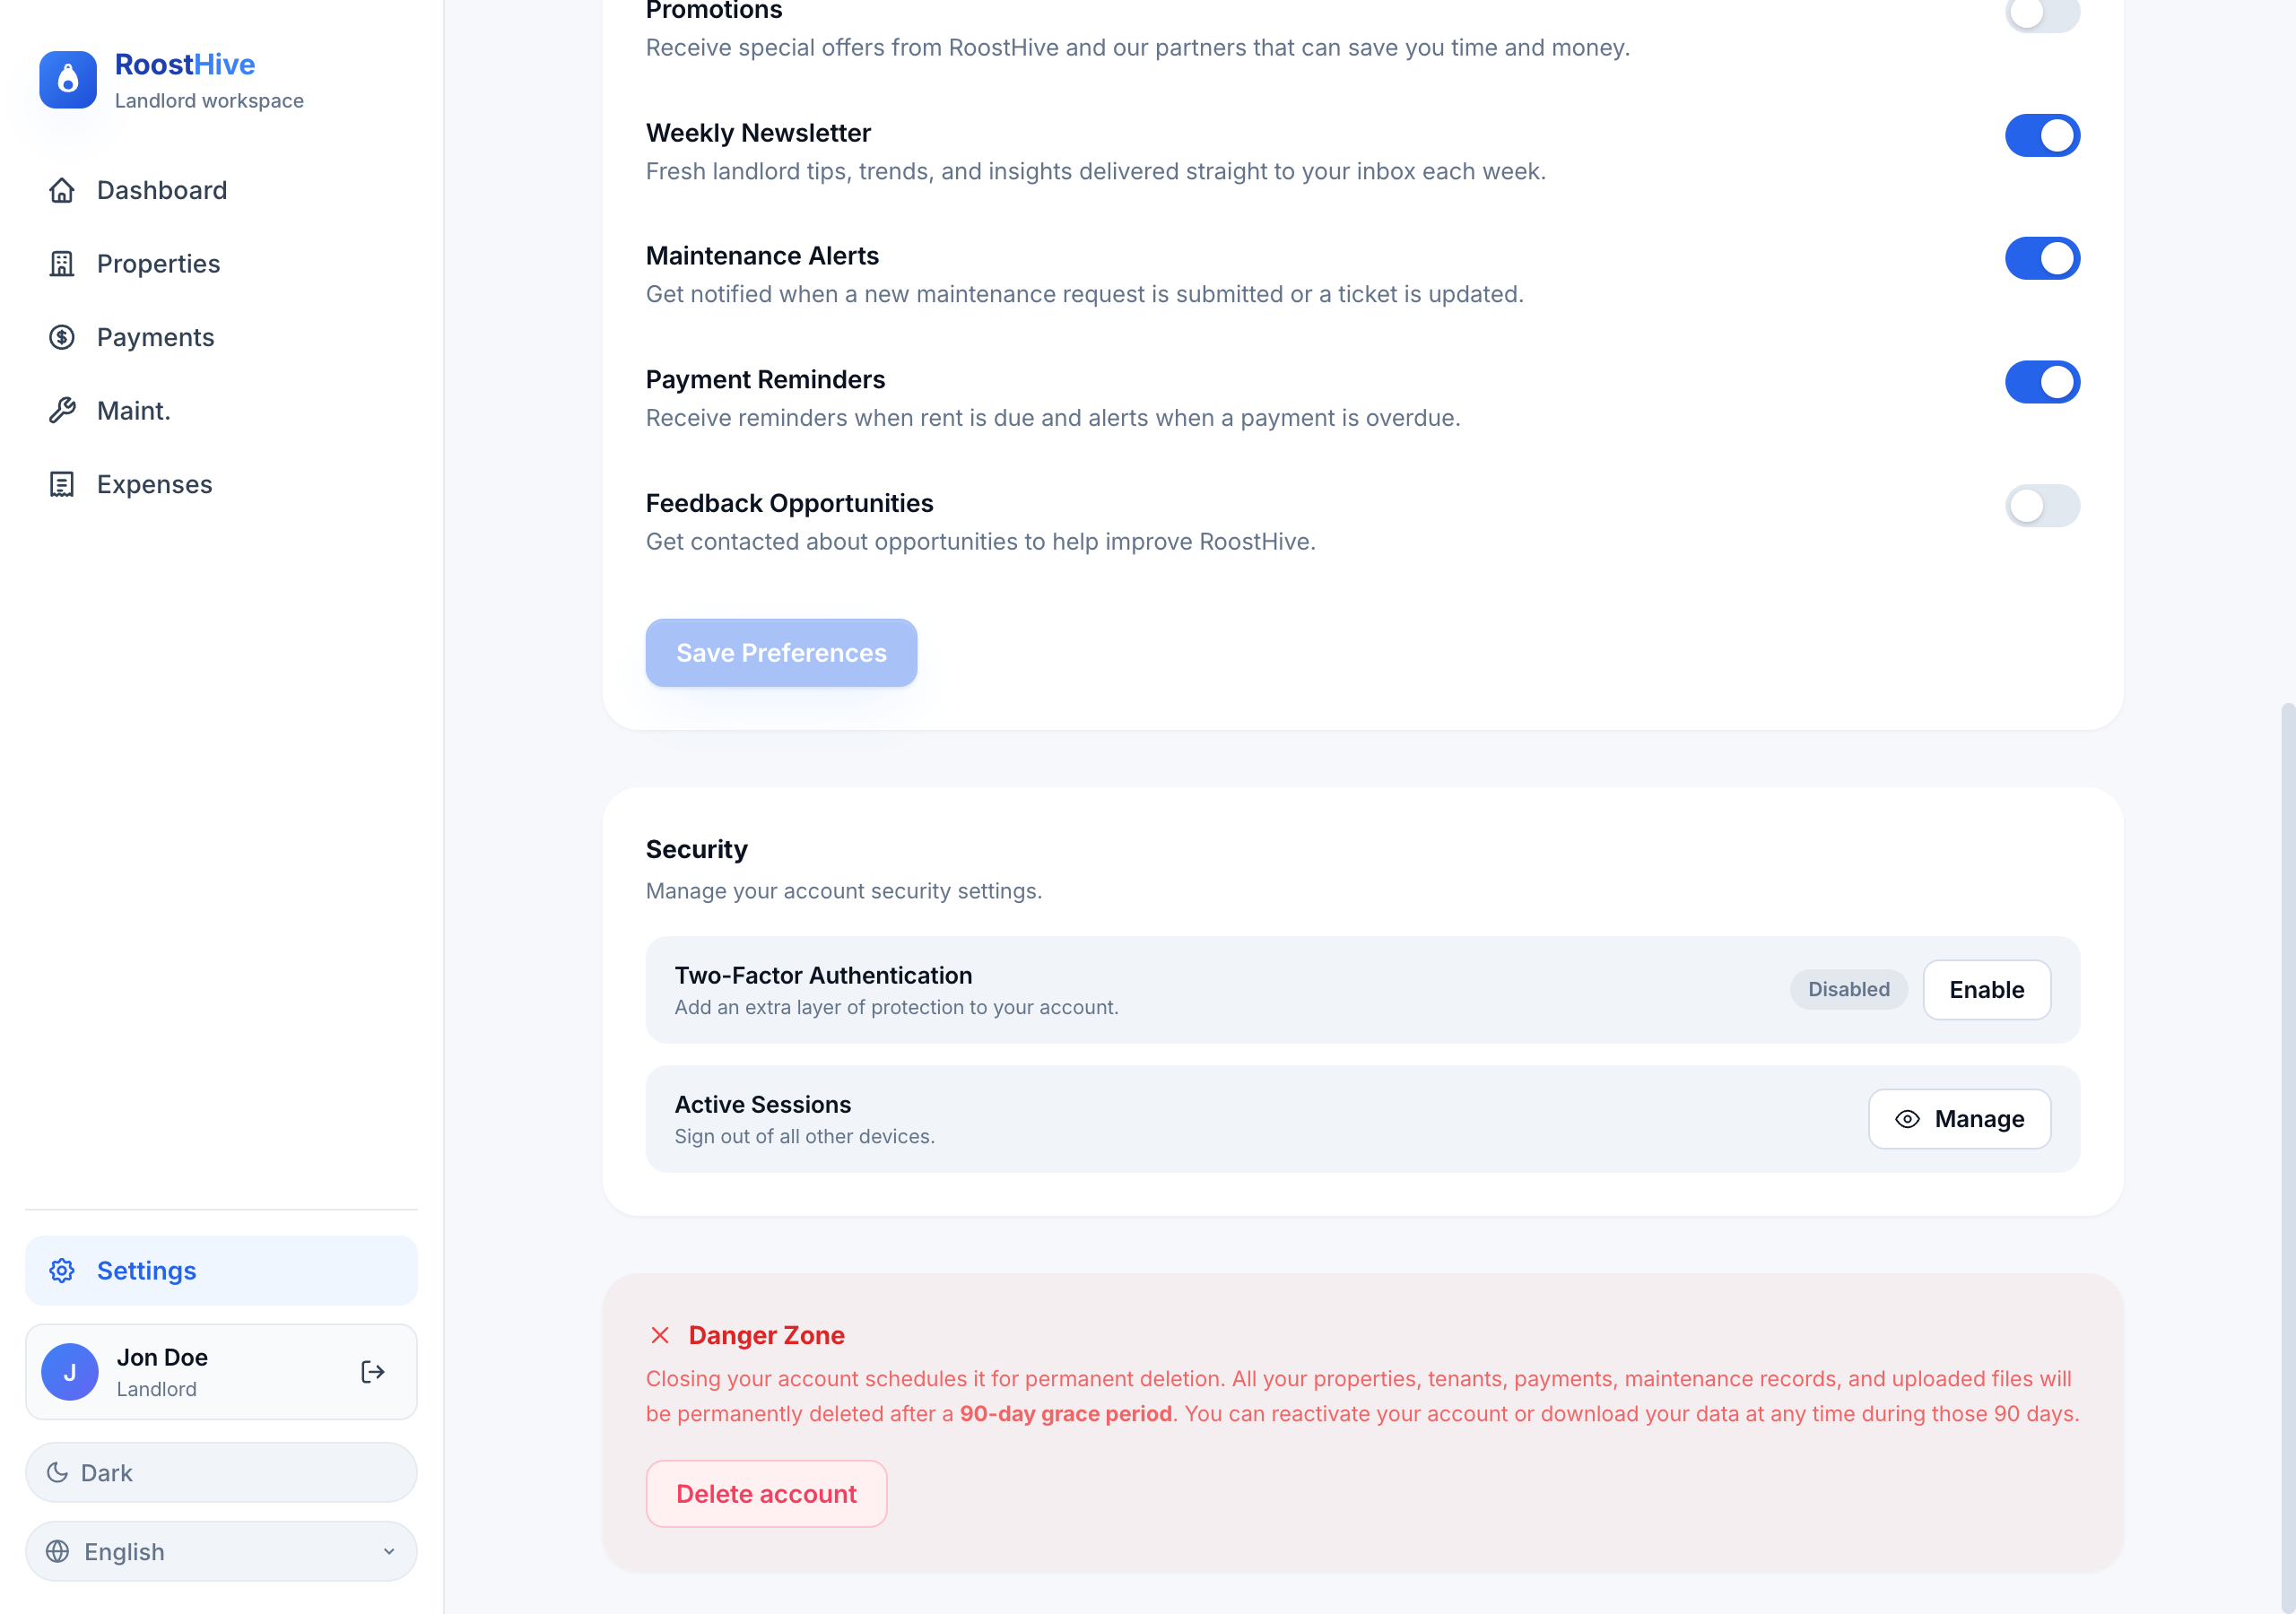
Under Profile you can set your display name and see your email, then click Save changes. The Security area lets you change your password — enter your current password, then your new one twice to confirm — turn on two-factor authentication, and review active sessions. You can also toggle email notifications here.
Two-factor authentication (2FA)
Two-factor authentication adds a second step to logging in: after your password, you enter a 6-digit code from an authenticator app on your phone. It's optional but strongly recommended — even if someone learns your password, they can't get in without your phone. In Security you'll see Two-Factor Authentication with an Disabled or Enabled badge and an Enable / Disable button.
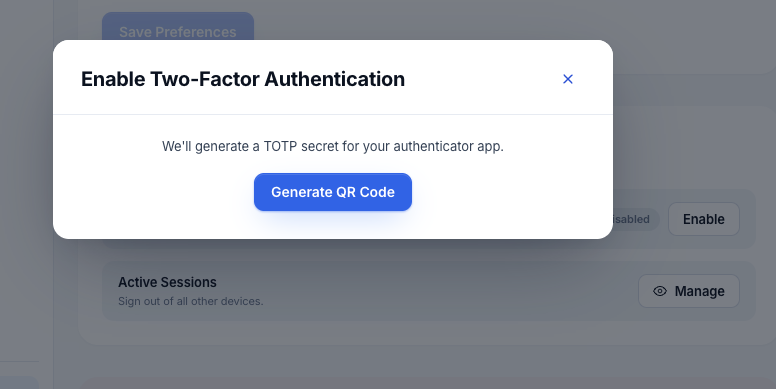
- Click "Enable" then Generate QR Code. RoostHive creates a secret for your authenticator app.
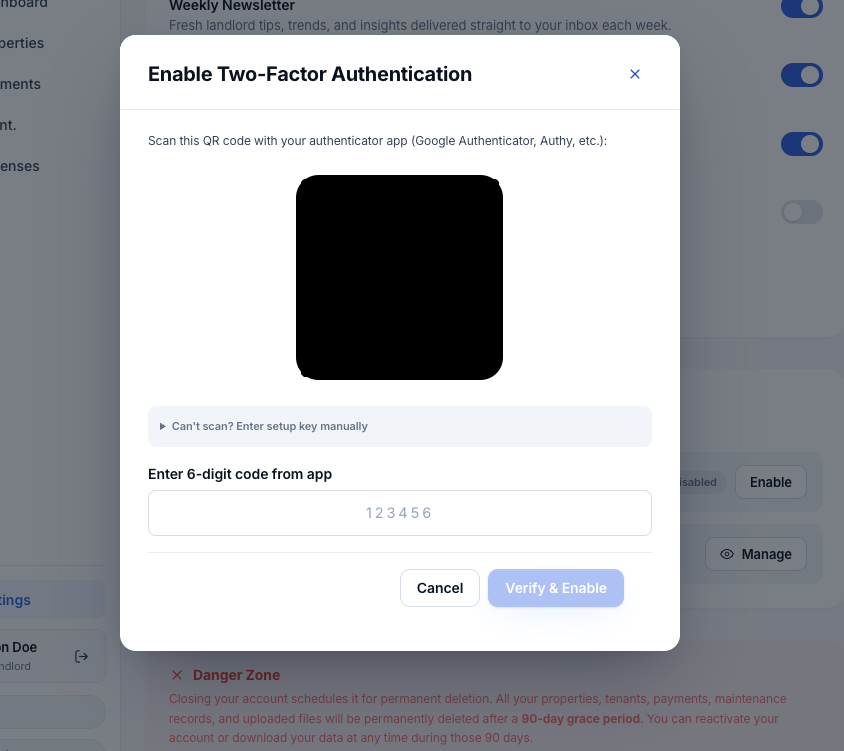
- Scan the QR code with an authenticator app such as Google Authenticator or Authy. Can't scan? Open "Enter setup key manually" and type the key instead.
- Enter the 6-digit code your app shows, then click Verify & Enable. The badge flips to Enabled.
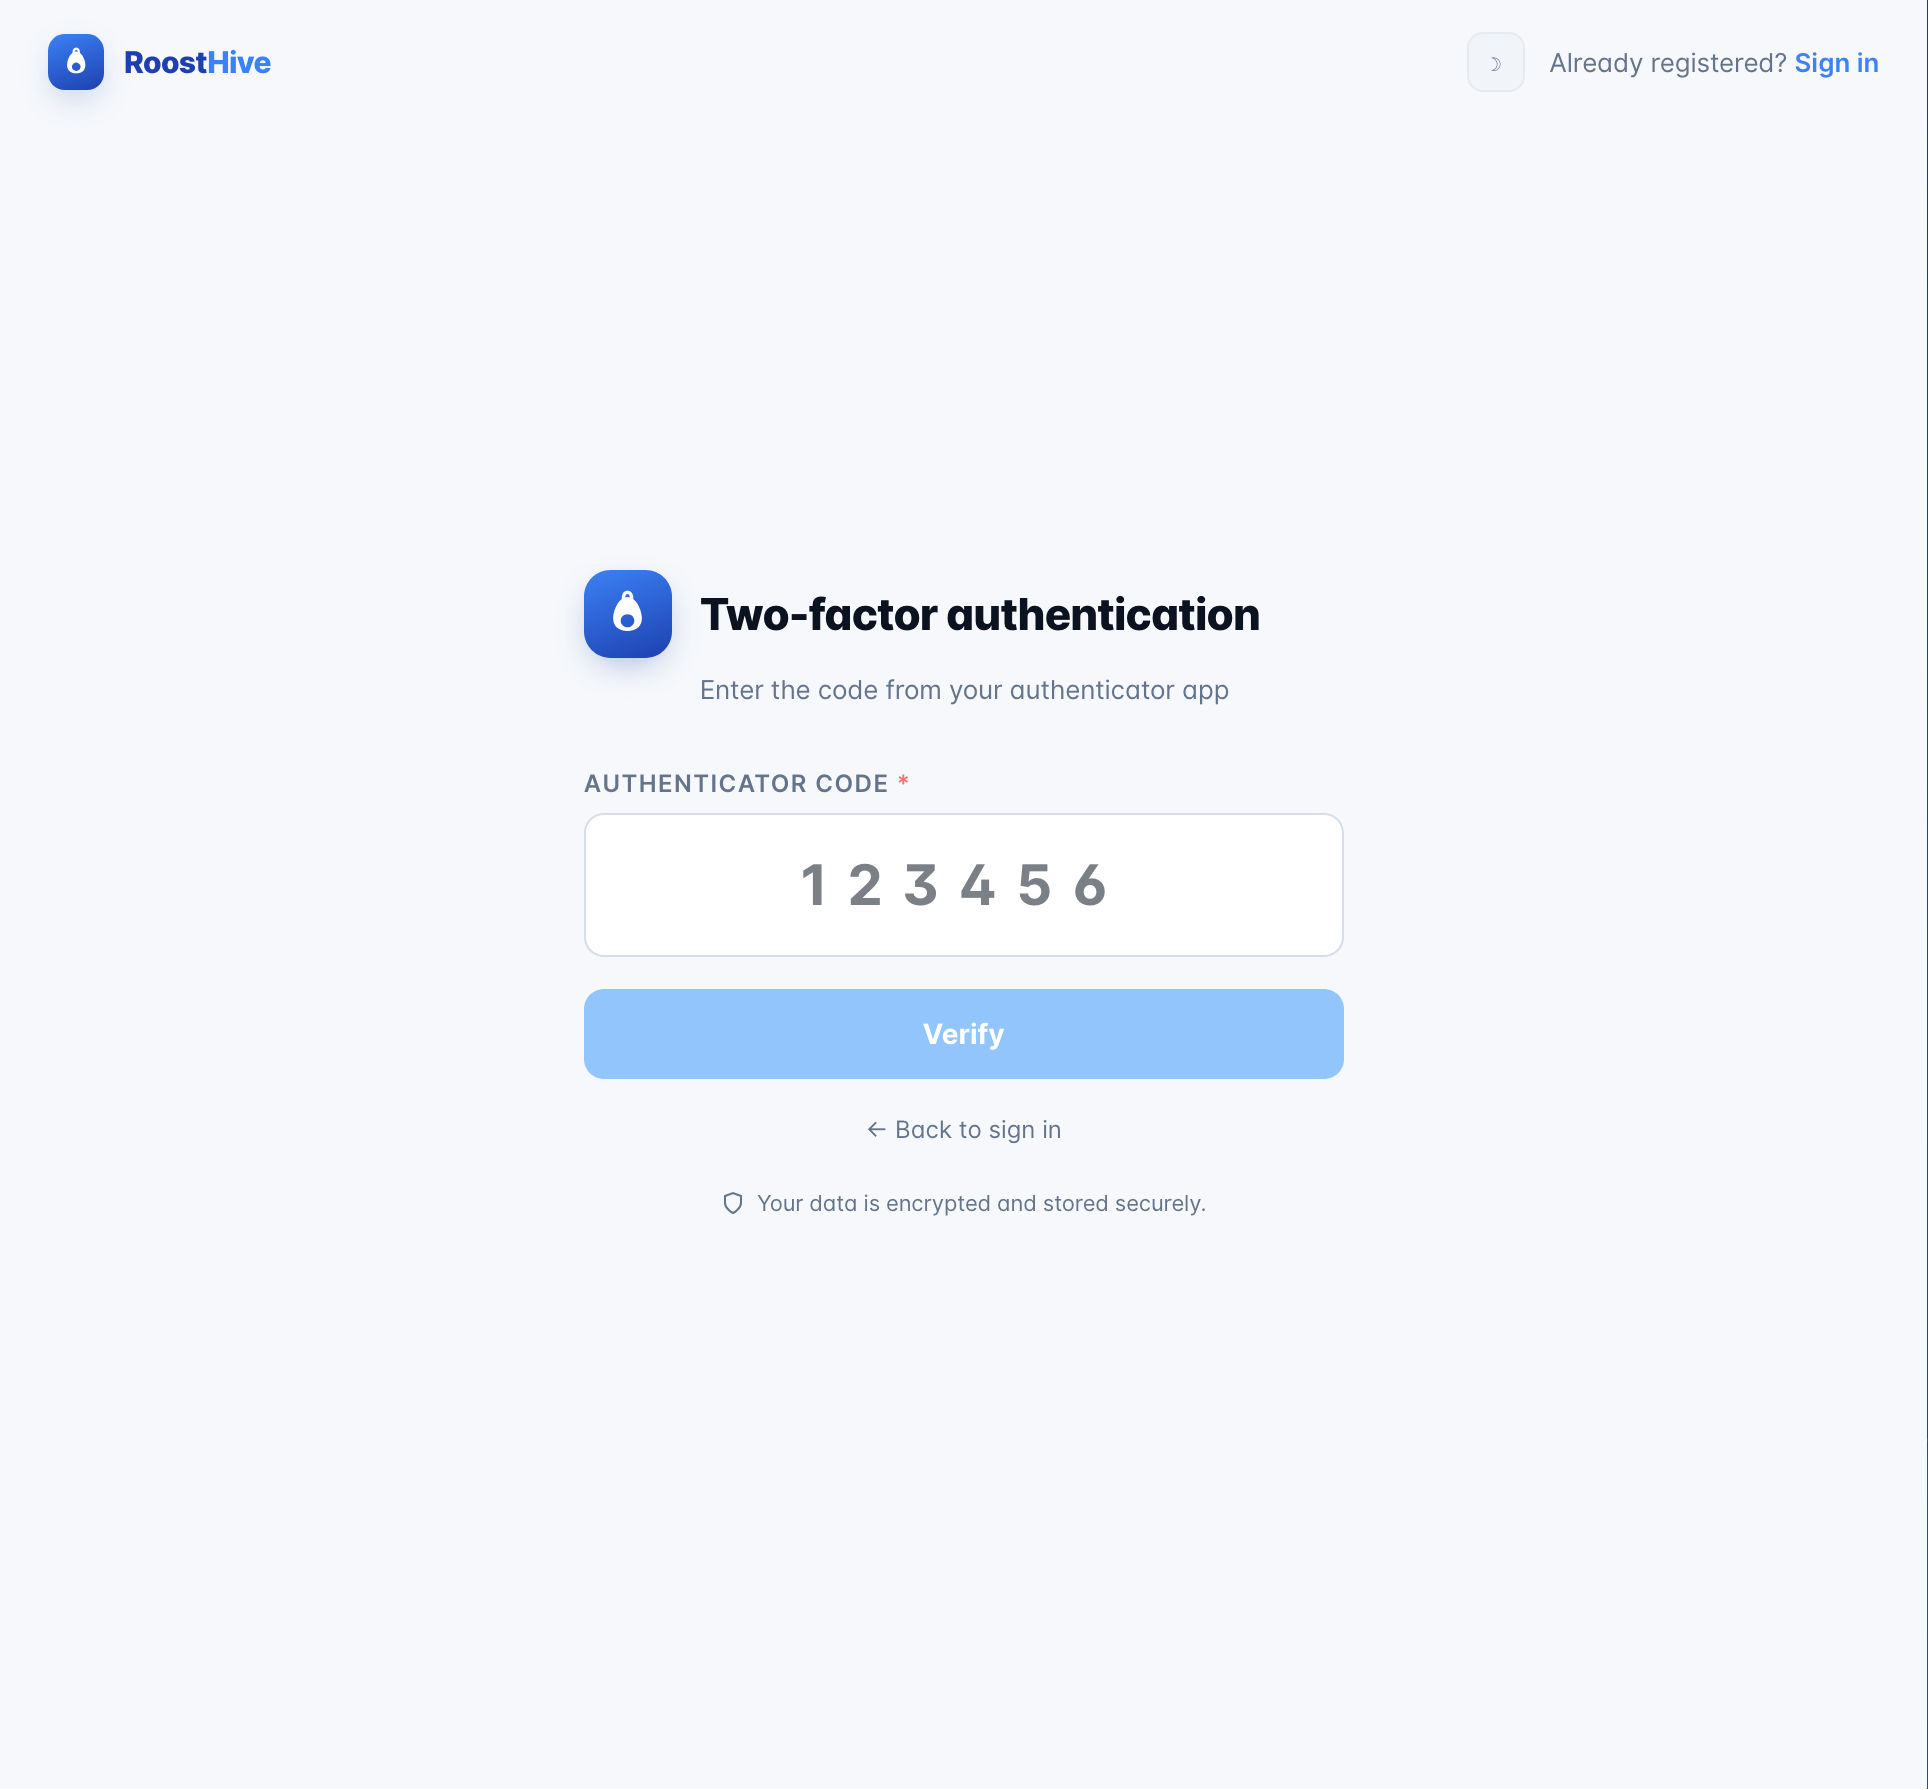
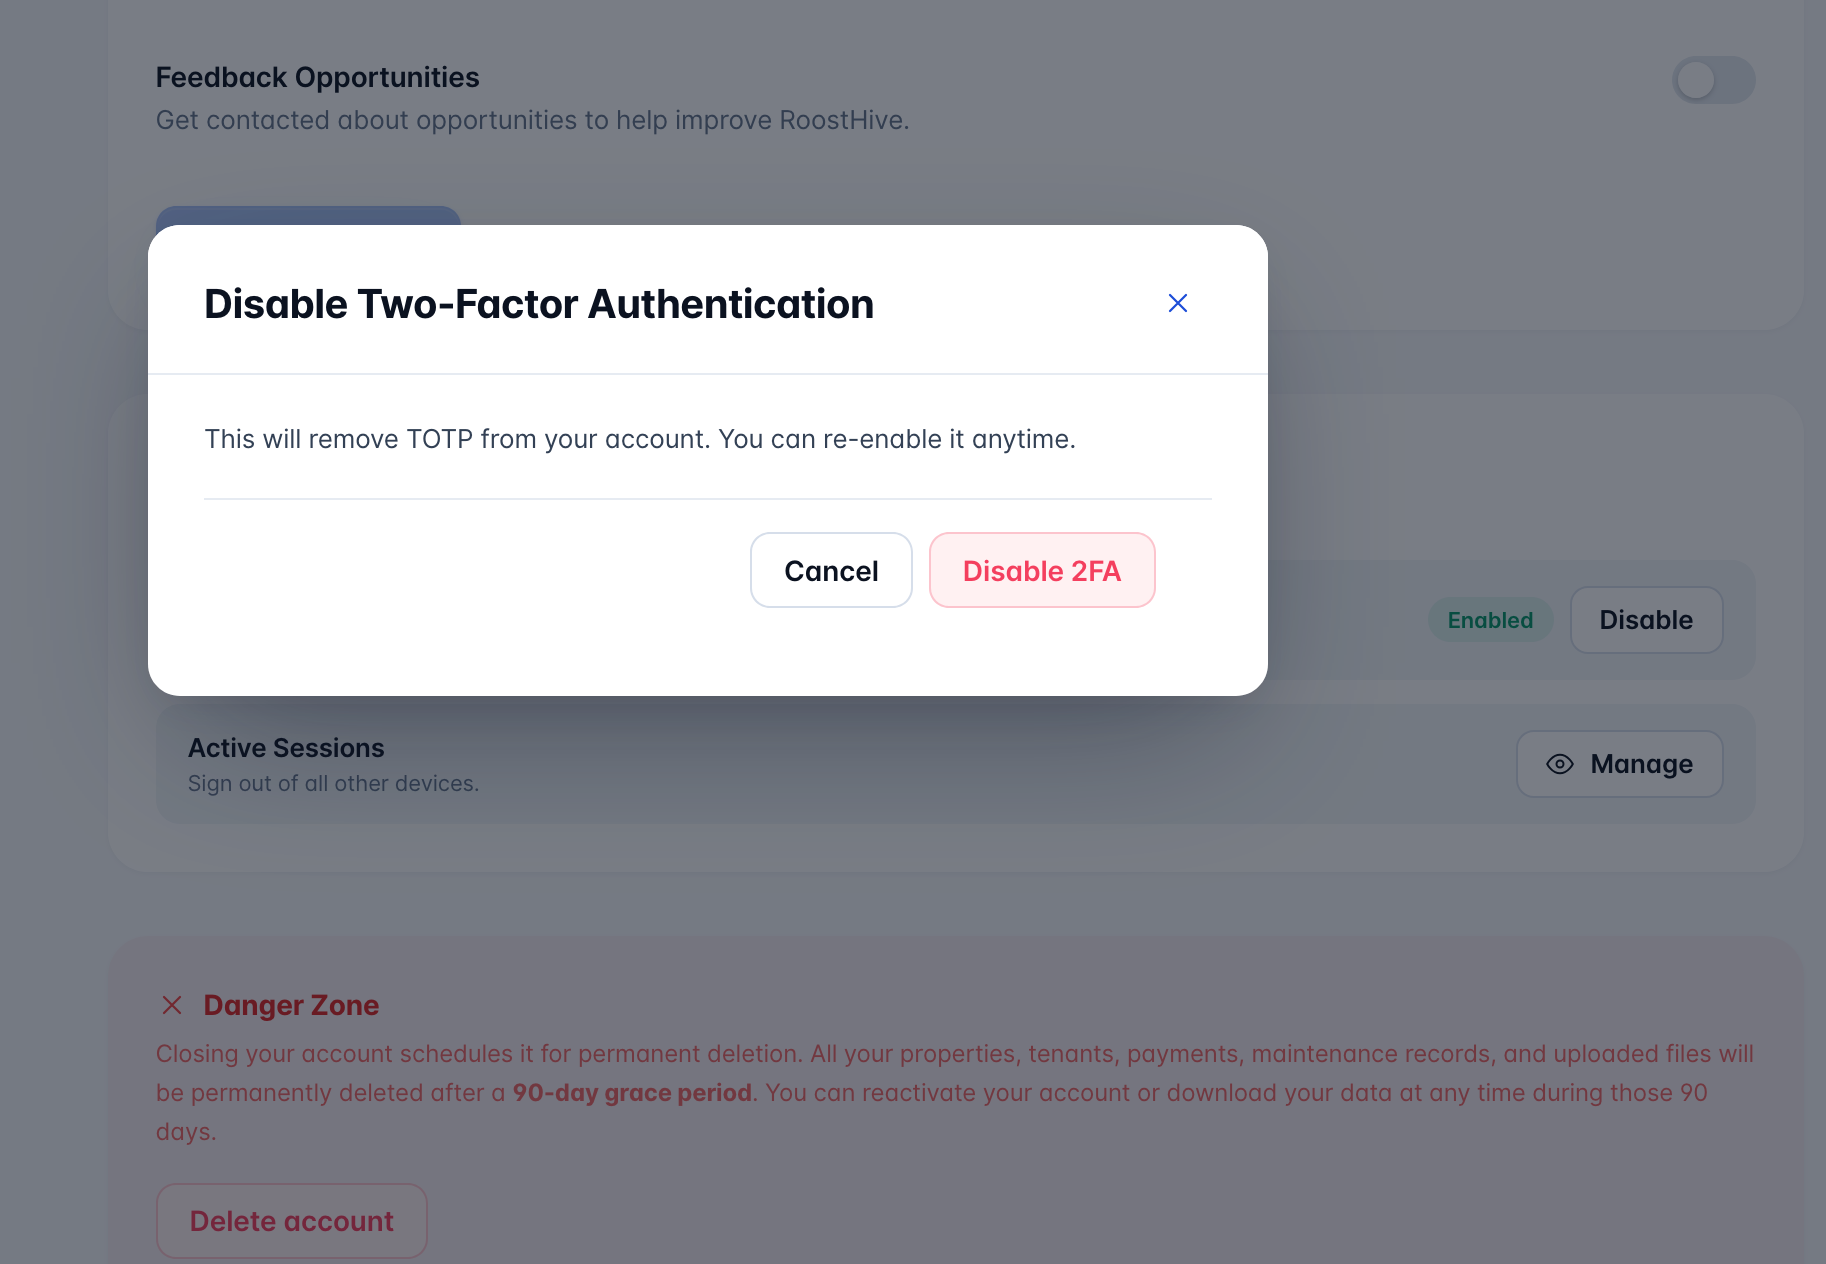
From then on, signing in shows a "Two-factor authentication" screen asking for the 6-digit code from your app. To turn it off, click Disable and confirm — you can re-enable it anytime.
Active sessions
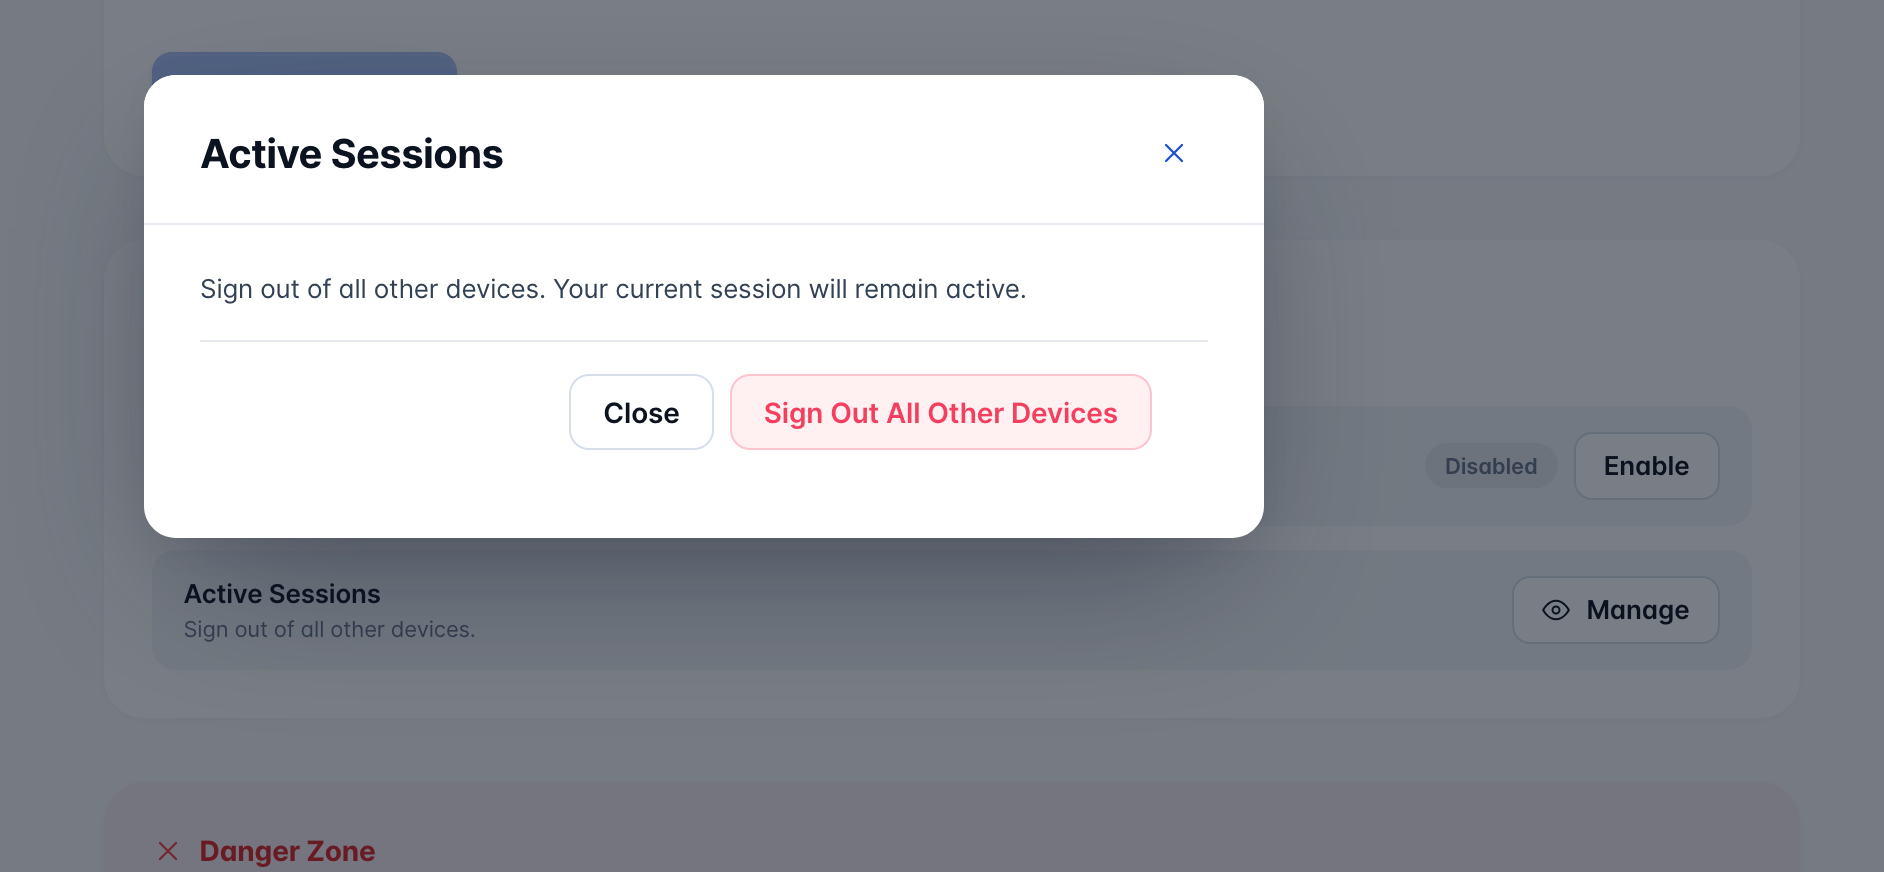
The Active Sessions control signs you out of every device where your account is logged in — useful if you signed in on a shared or lost device. Click Manage, then confirm with Sign Out All Other Devices. This ends all active sessions, including the one on this device, so you'll be signed out here too and will need to log back in.
Your data & account (Danger Zone)
The Danger Zone holds the two most permanent actions, kept separate so you don't trigger them by accident.
Download your data
You own your records and can take them with you. When you start account deletion below, RoostHive emails you a secure Download your data link that exports your information as a JSON file, so you always keep your own copy. Your data stays exportable for 90 days after cancellation, and you can download it as many times as you need. (For payments specifically, you can also export a CSV anytime from the Payments page.)
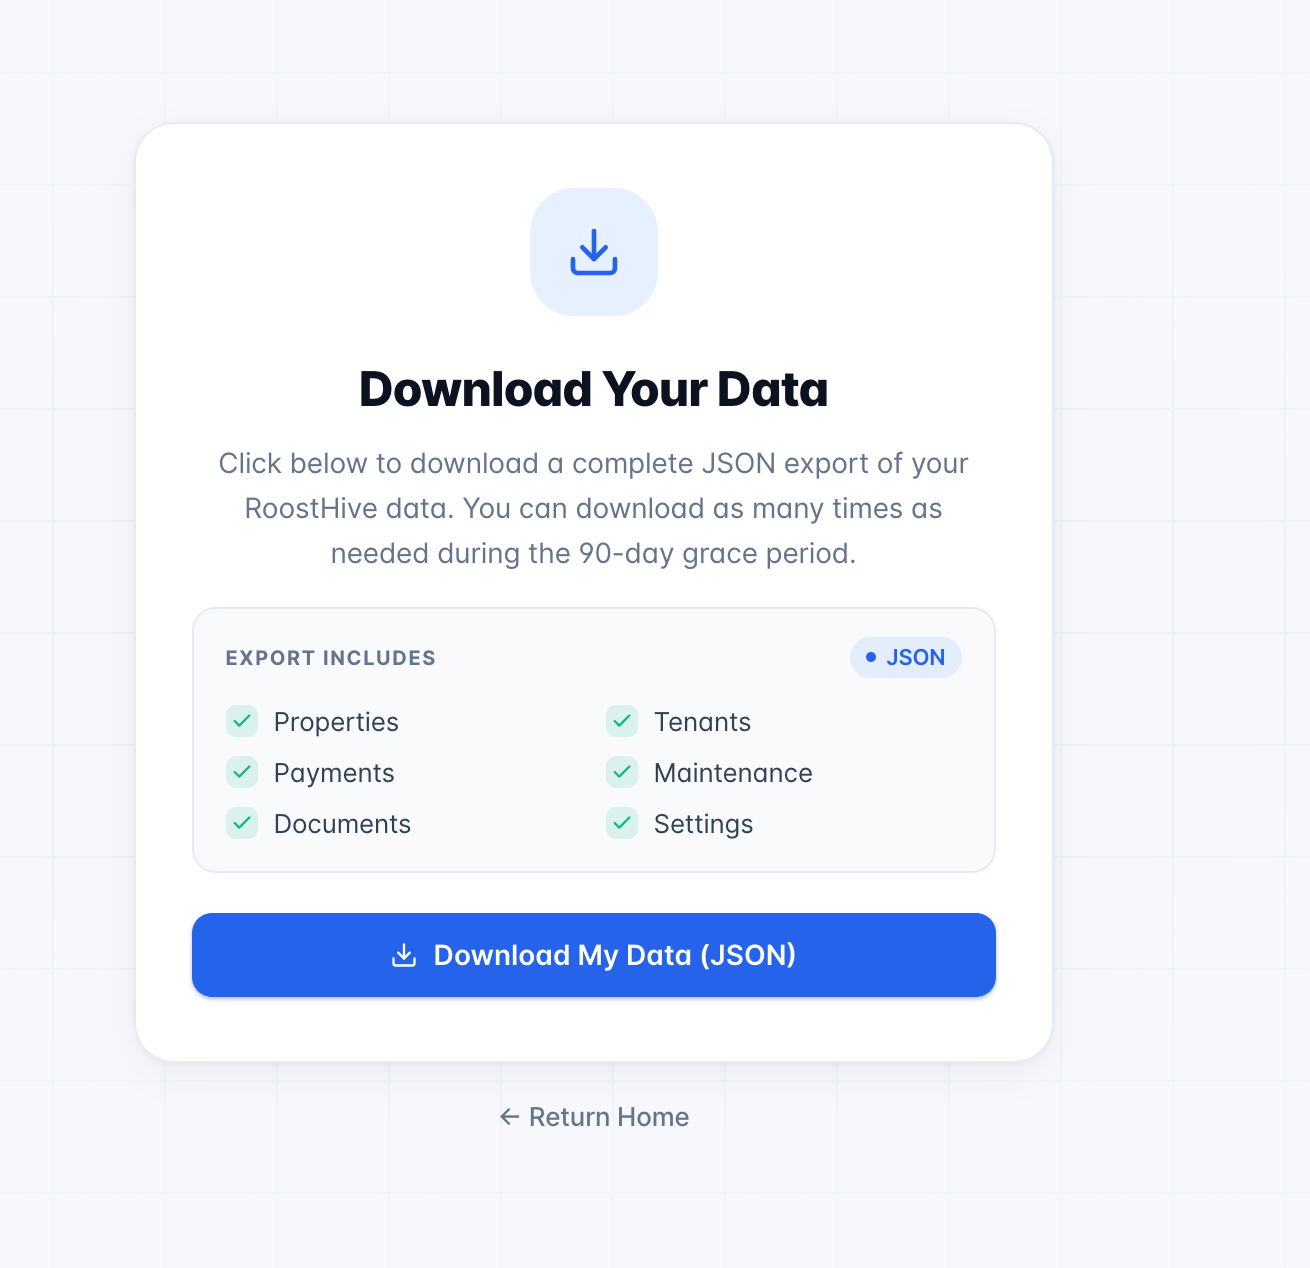
Curious what's inside? Here's a sample export (JSON) showing the file's structure.
Delete your account
Deleting is permanent — it "will permanently delete your account and all data." To prevent accidents it runs as a verified, multi-step flow, and there's a 90-day grace period before anything is actually erased.
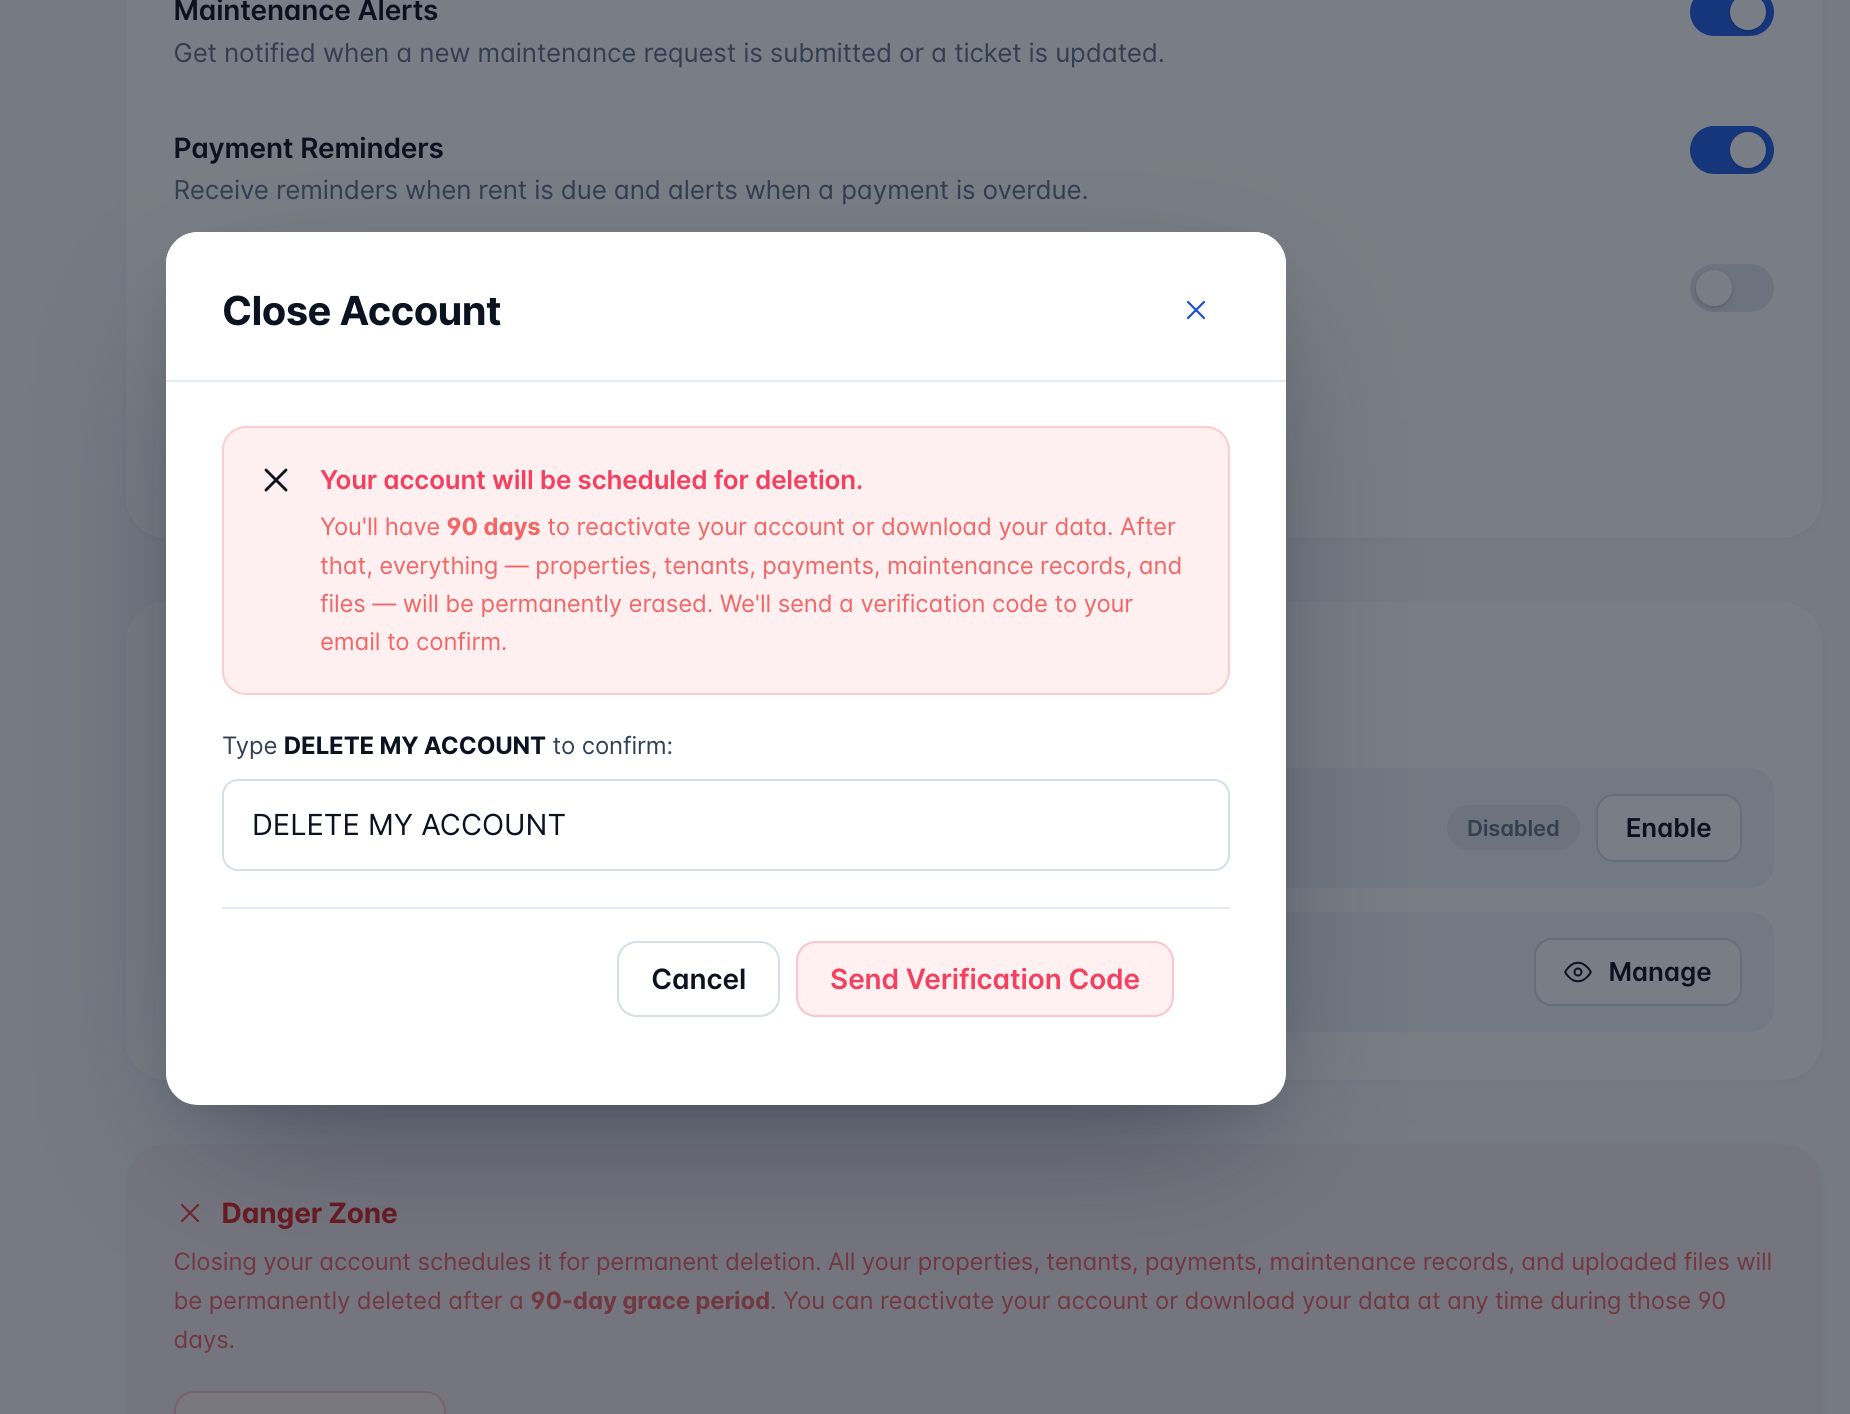
- Start the close In the Danger Zone, click Delete account, type DELETE MY ACCOUNT to confirm, then click Send Verification Code.
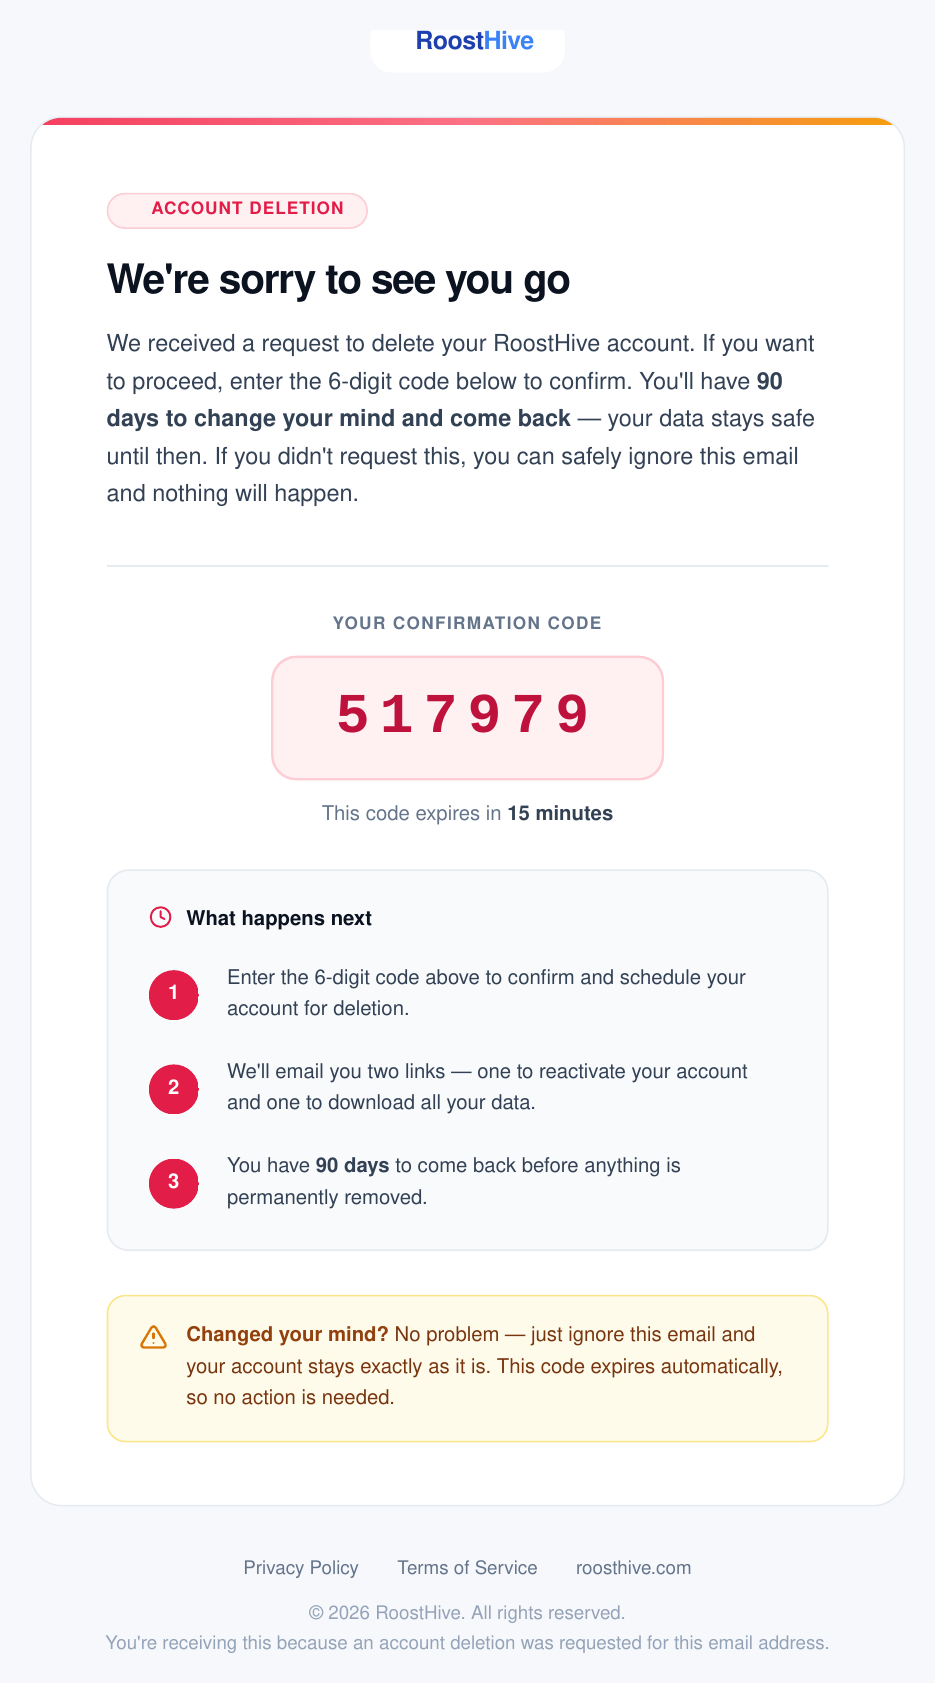
- Enter the code RoostHive emails you a 6-digit code — enter it and click Schedule Account Deletion.
- You're scheduled Your account is scheduled for deletion and you're signed out. RoostHive emails you two links: Reactivate your account (restore full access before the deadline) and Download your data (export everything as a JSON file).
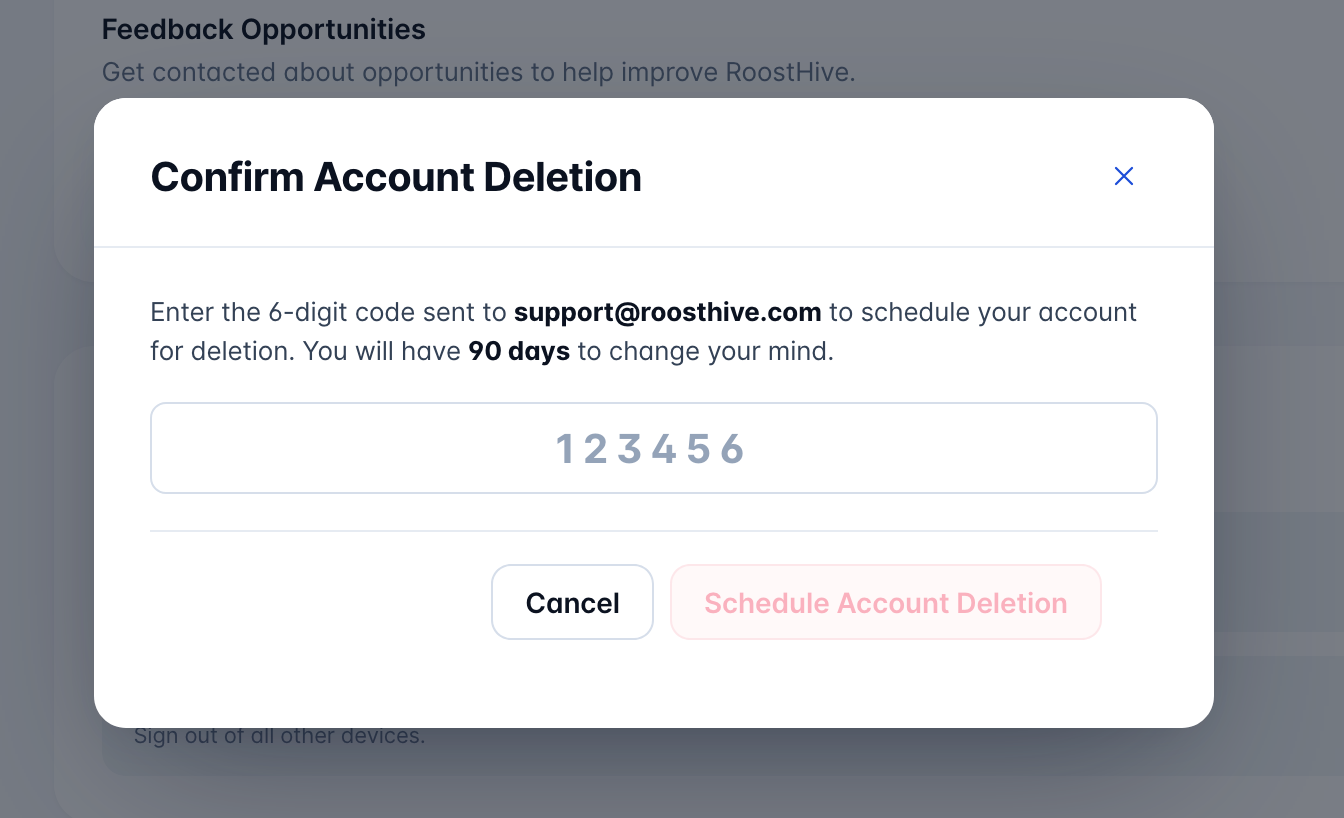
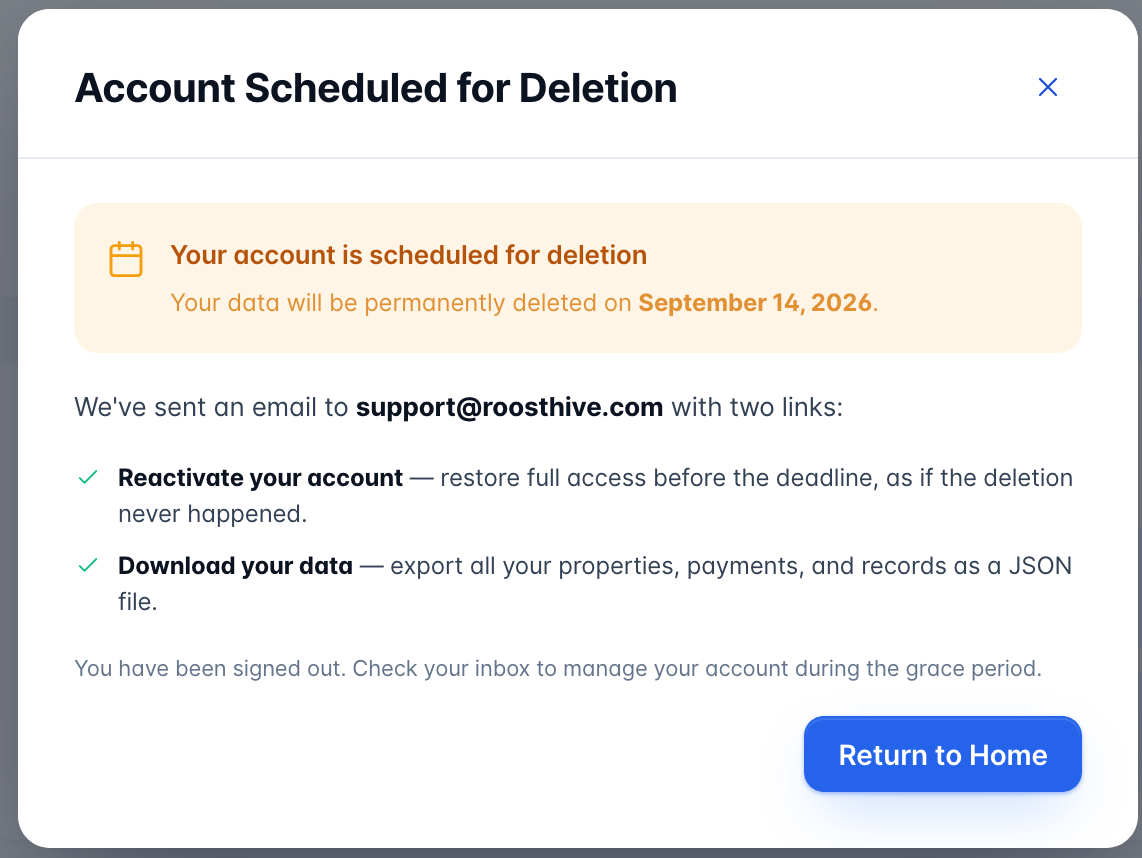
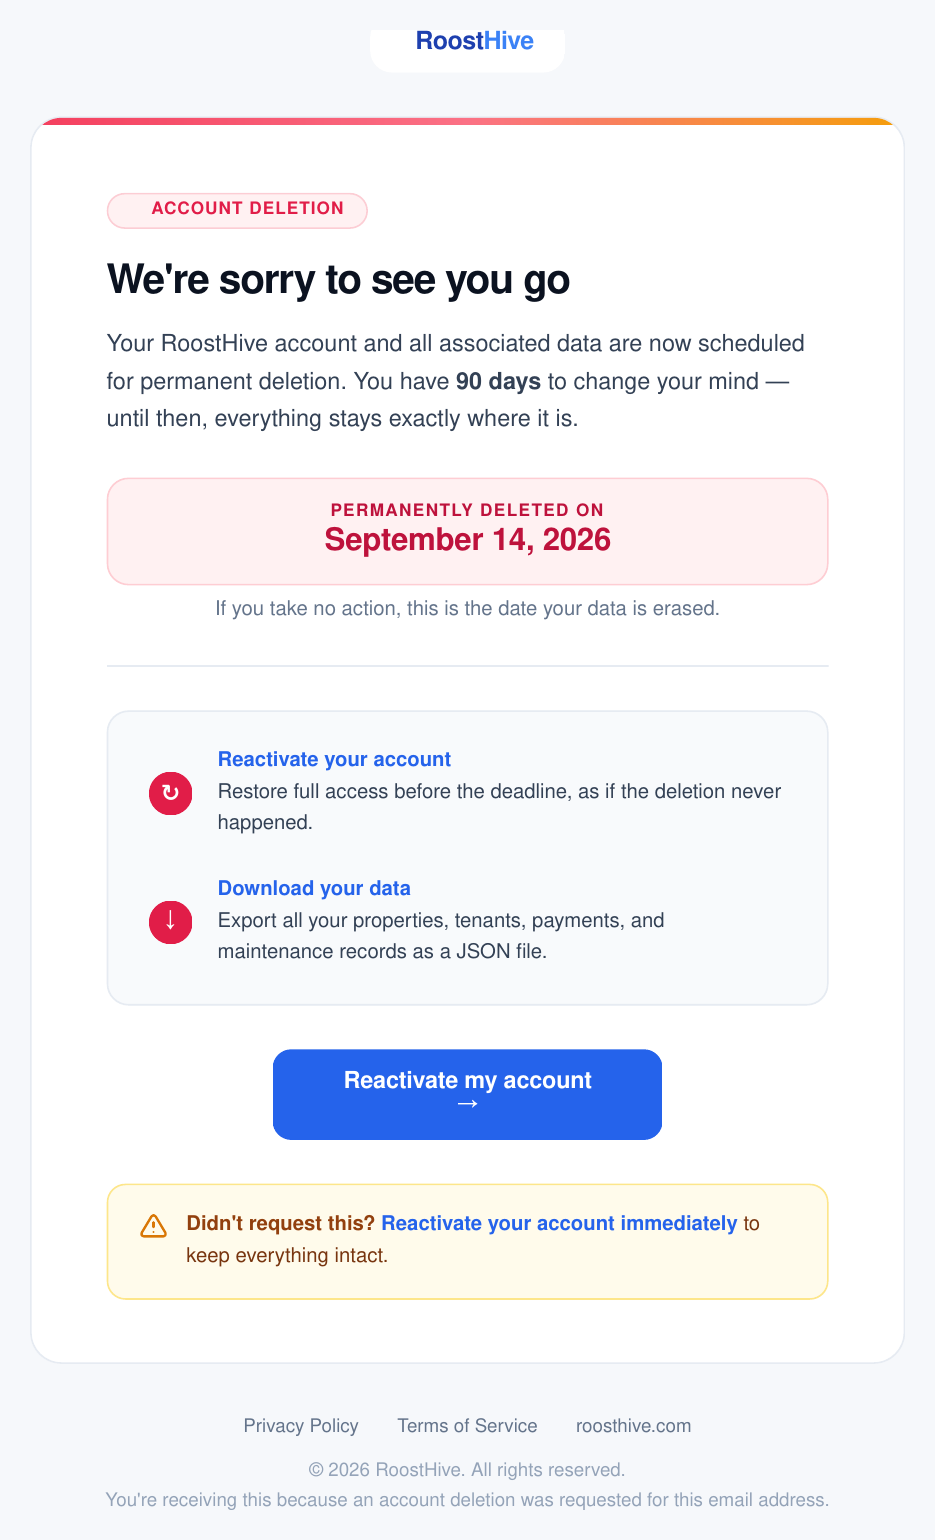
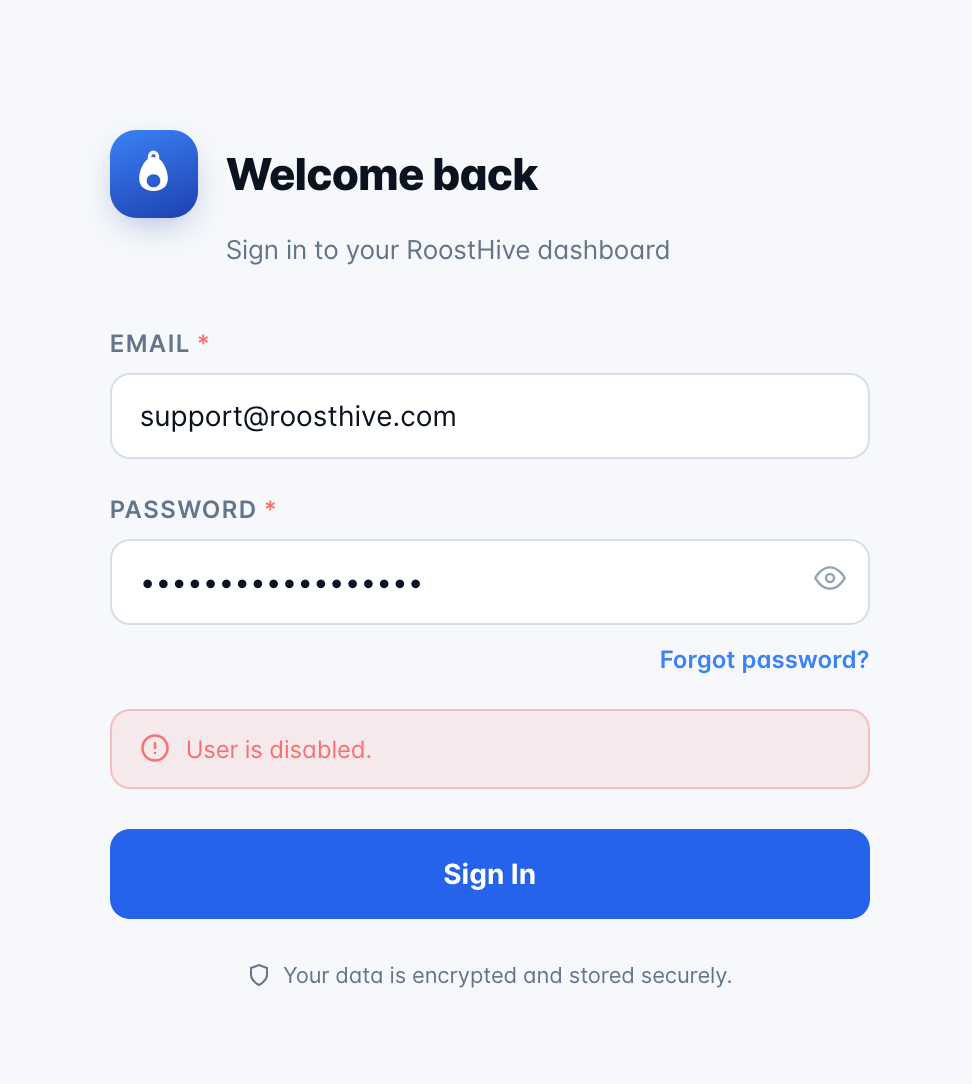
During the grace period your account is disabled, so trying to log in shows a "User is disabled" message. Use the Reactivate your account link in your email to restore access — after the grace period, deletion is permanent and can't be undone.
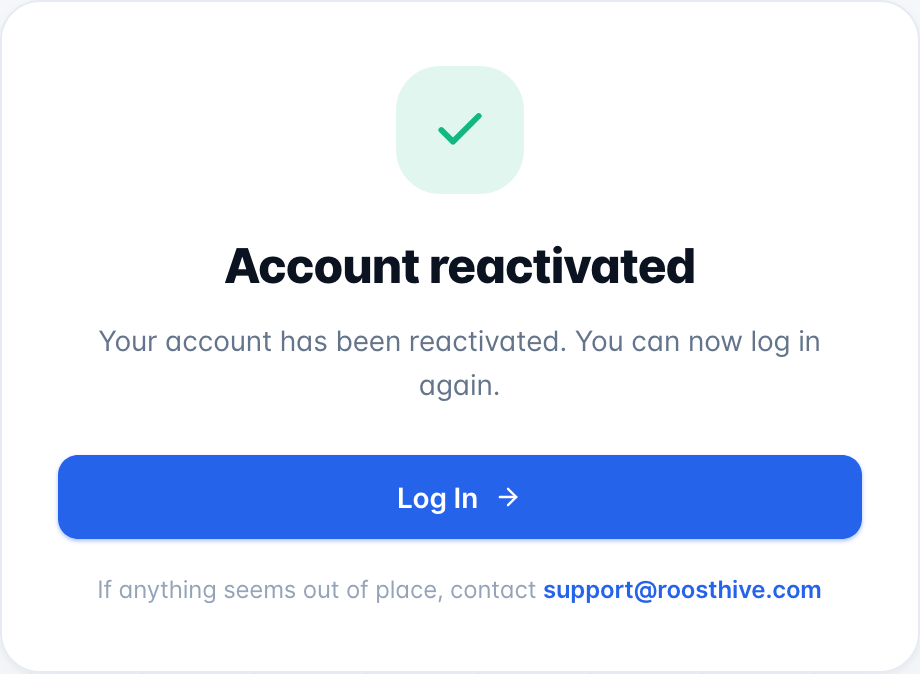
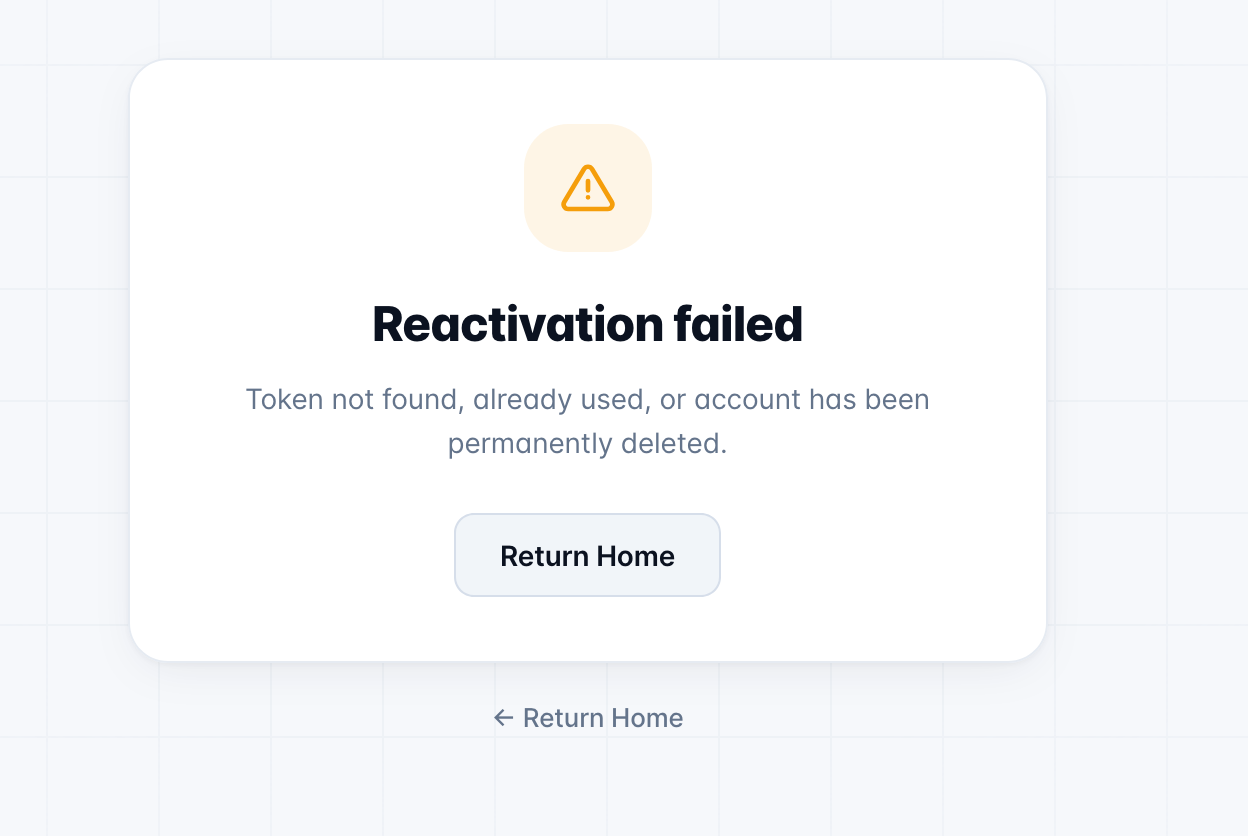
Clicking Reactivate your account in that email restores full access — you'll see a confirmation and can log straight back in. If the link was already used, or the grace period has passed and the account was permanently deleted, you'll see a "Reactivation failed" message instead.